This guide will walk you through the steps necessary to program Raspberry Pi Pico/ Pico W on macOS devices. Thonny IDE is one of the most popular IDEs for programming microcontrollers using MicroPython. Here, we will use Thonny to write a MicroPython script that will be saved to Raspberry Pi Pico. A MacBook running macOS Catalina (version 10.15) was used while writing this guide.
ⓘ If you are using Windows OS to program Raspberry Pi Pico, follow our Getting Started guide for Raspberry Pi Pico on Windows.
Installation Of Thonny IDE In macOS
- Visit the official website Thonny.org and download the version for macOS. The IDE comes bundled with Python.

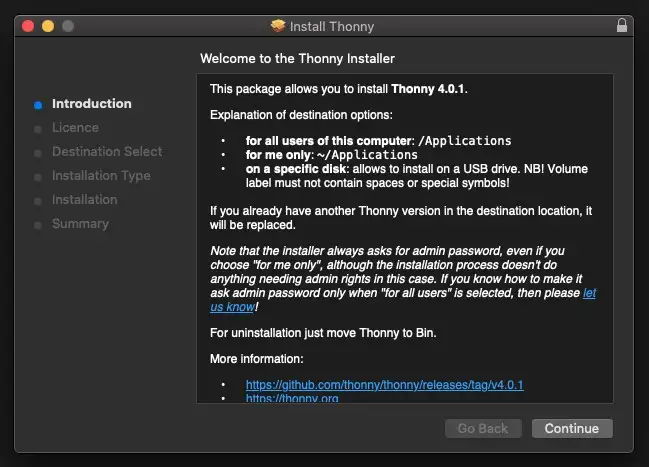
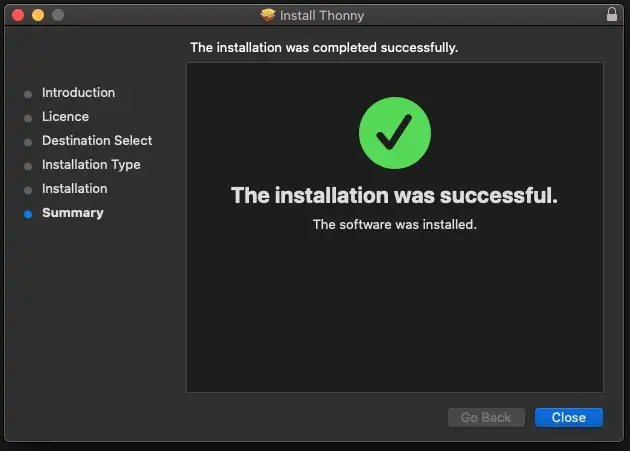
- Open the downloaded package and proceed with installation by following the onscreen instructions.
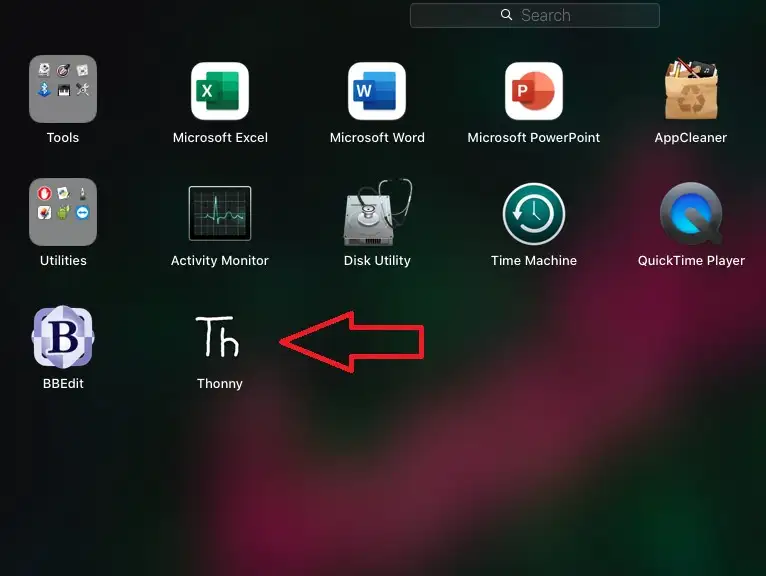
- Once installed, click on Launchpad from the dock and find Thonny.
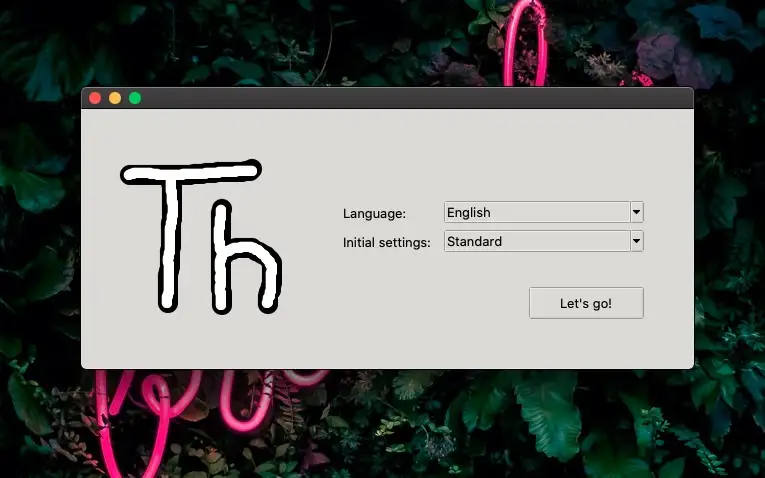
- Open Thonny IDE, select your preferred language and click on the Let’s go button.
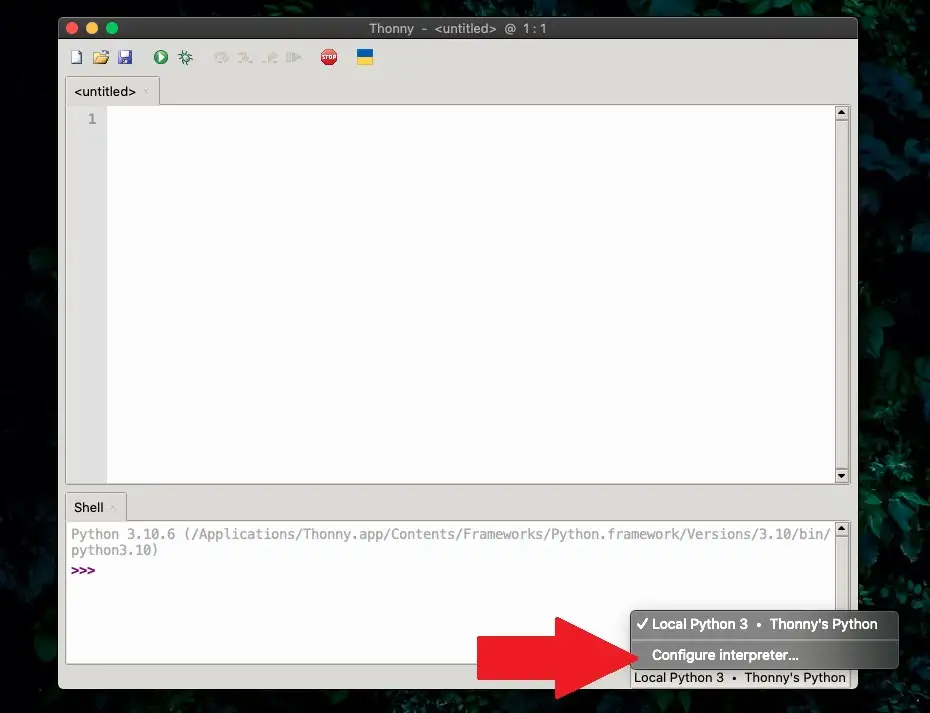
- The Thonny IDE window should now be open. On the lower right corner of the IDE, click on Configure interpreter.
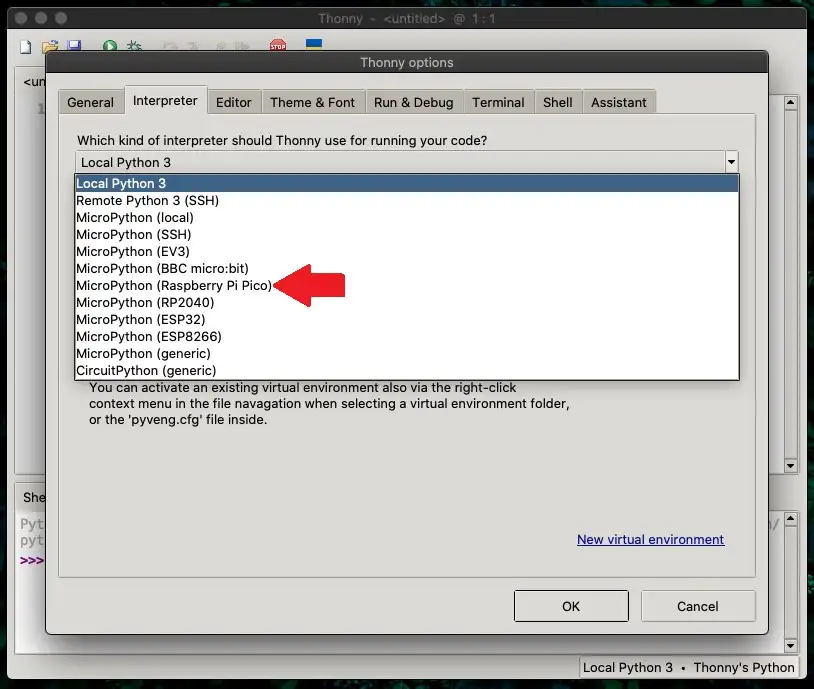
- On the interpreter tab, click below “which kind of interpreter should Thonny use for running your code?”. Select MicroPython(Raspberry Pi Pico) from the drop-down list.
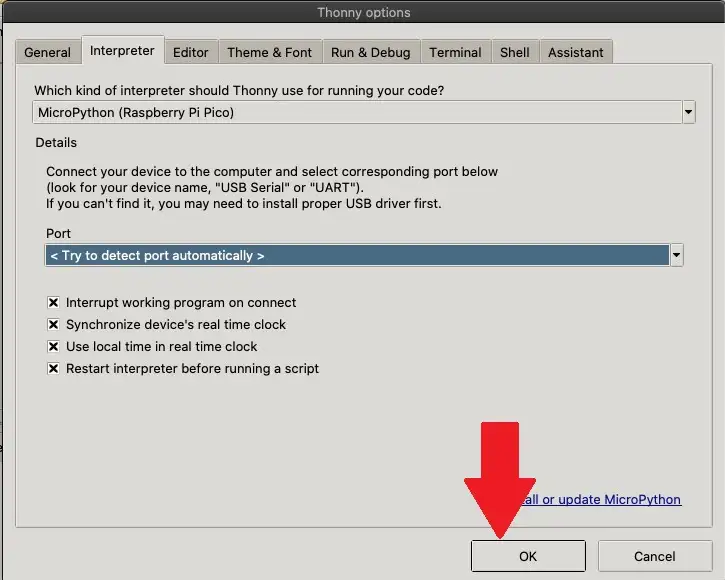
- You can leave the other settings unchanged and click on OK.
To program Raspberry Pi Pico/ Pico W with MicroPython, we need to save a UF2 file to Pico first. We have a guide that explains how to install MicroPython on Raspberry Pi Pico. Please follow the guide if you have not yet installed the MicroPython UF2 file on Raspberry Pi Pico.
Program Pi Pico W Using Thonny IDE
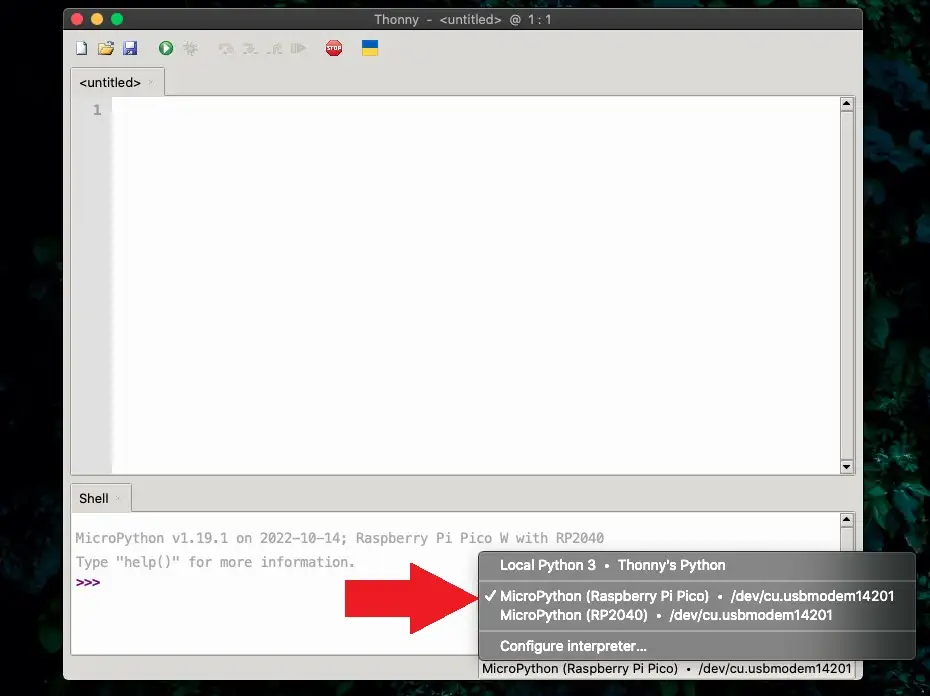
- Connect the Raspberry Pi Pico to your macOS device. Verify that the interpreter is set to MicroPython(Raspberry Pi Pico).
- Paste the code below that will blink the onboard LED.
from machine import Pin
import time
led = Pin("LED", Pin.OUT)

while True:
    led.low()
    time.sleep_ms(500)
    led.high()
    time.sleep_ms(500)Code language: Python (python)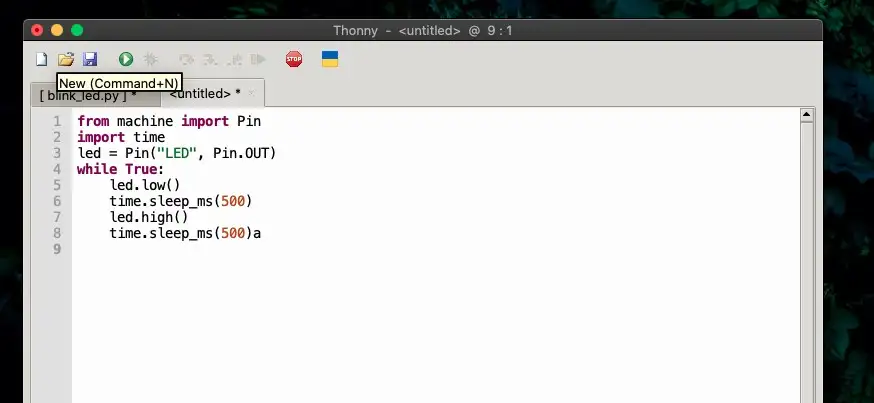
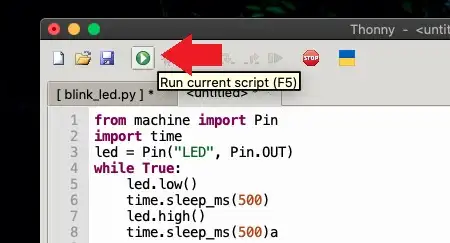
- Press the Run icon or the F5 key to run your code.
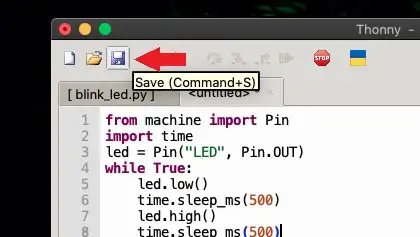
- You must now see the LED blink on your Raspberry Pi Pico. To save the code, click on the Save icon.
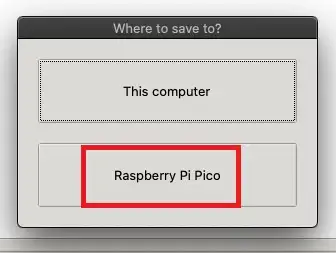
- Select Raspberry Pi Pico as the save location.
- Enter the filename as blink.py or any other name with a ‘.py’ filename extension.
- Press OK. Your code is now saved to the Raspberry Pi Pico.
Conclusion
I hope that you found this tutorial on using Raspberry Pi Pico with macOS to be helpful. You can also check out our MicroPython guides or explore our articles on Raspberry Pi Pico.
Thank you for reading.
Leave a Reply